5 minute guide to WaterGAP#
1: Download and Install Python#
(Skip this step if Python is already installed)
Download the current Python version for your OS from the official Python Website and install.
2: Download and Install the package manager “Mamba”#
(Skip this step if Mamba is already installed)
Go to the Mamba Website , choose your OS (Linux or MacOS) and download the installation file (the downloaded file has an “.sh” extension)
Open your terminal and navigate to the downloaded file (it has the name “Miniforge3-(OSname)-(architecture).sh”)
Install Mamba by running the following command and follow the installation prompts. The prompt will notify you where to install Mamba (see image below). The created folder will be called “miniforge3”.
$ bash Miniforge3-MacOSX-arm64.sh (example for MacOS Apple Silicon)
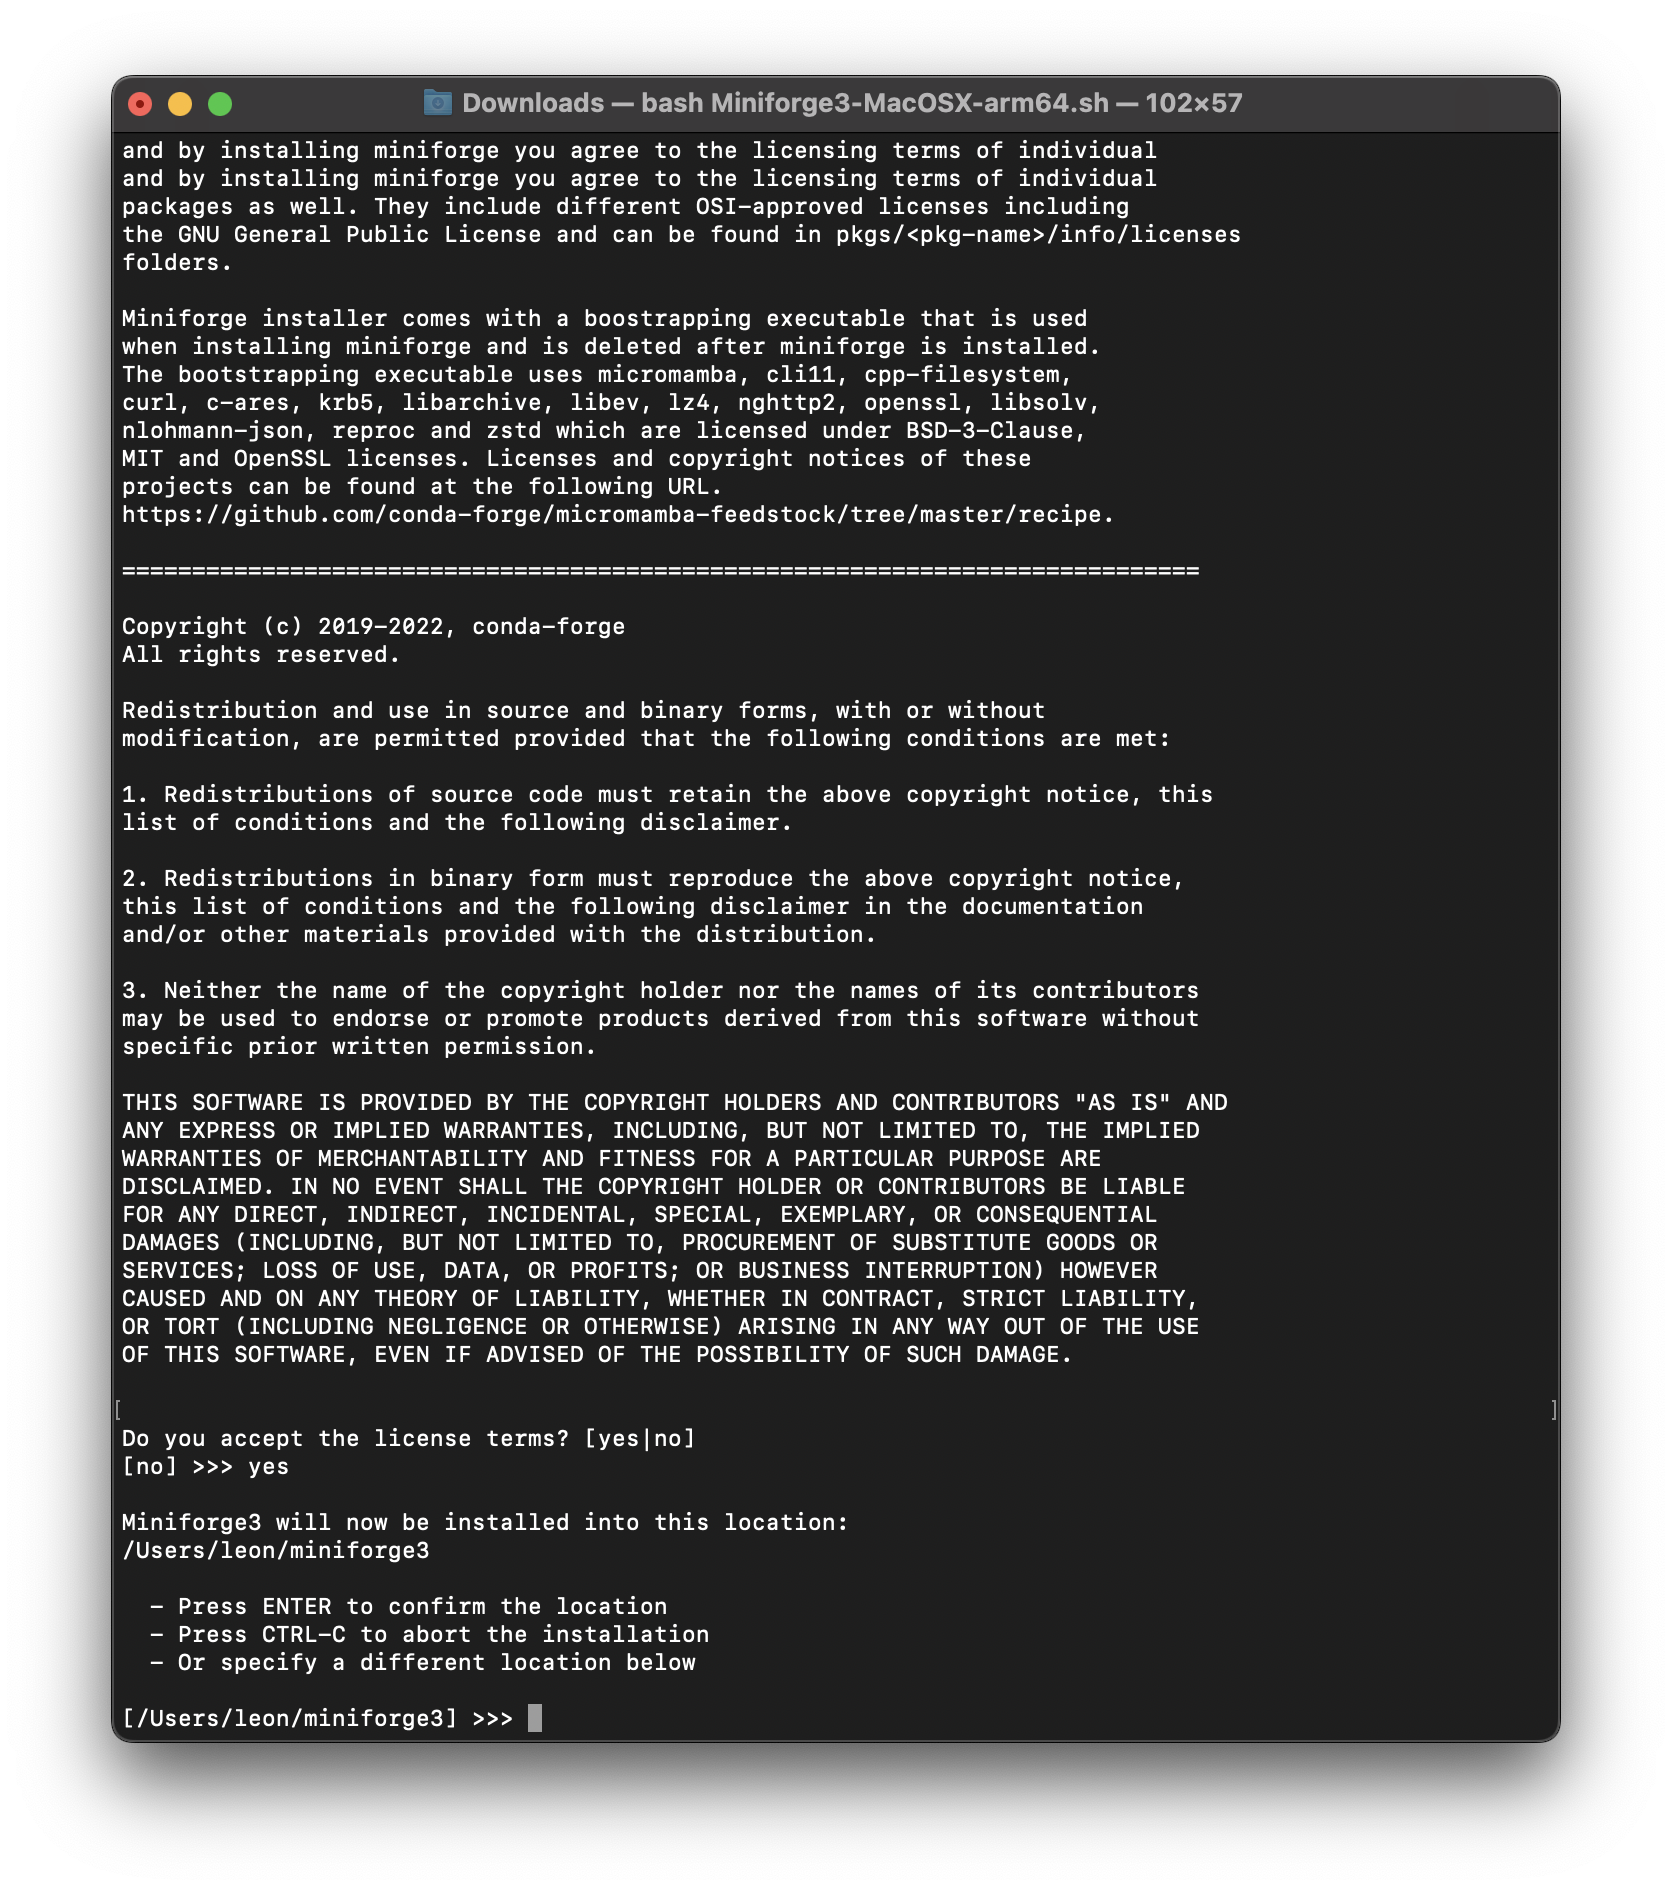
After the installation is complete, you will see the Mamba logo .
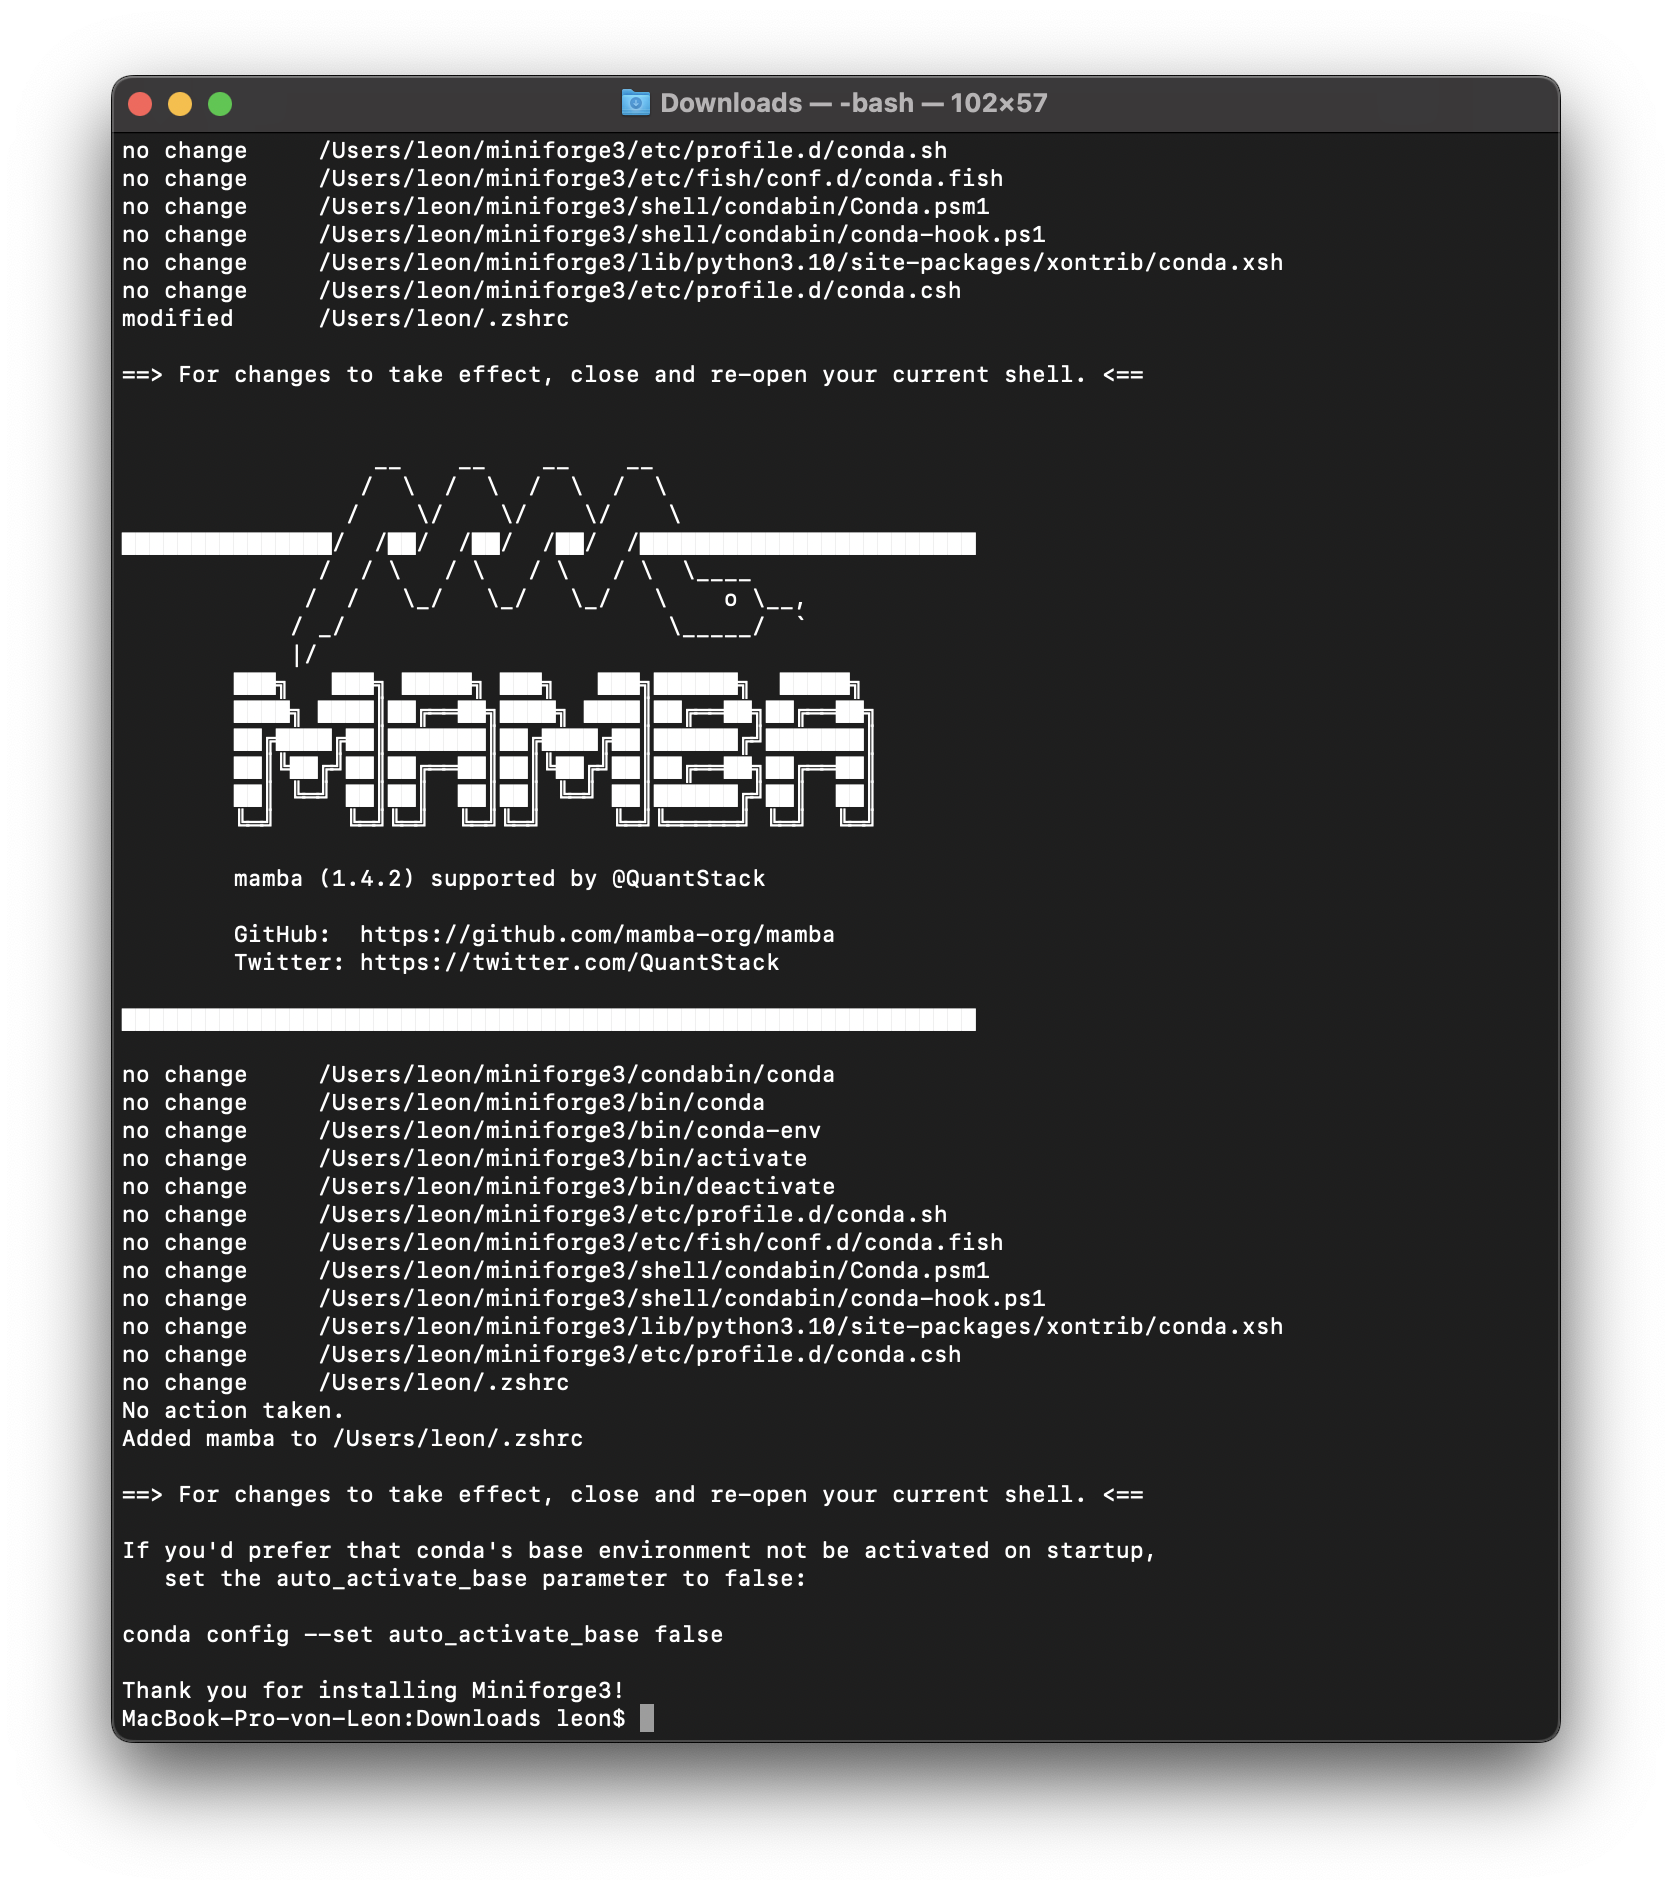
Navigate to the “bin” folder in the newly created “miniforge3” folder.
$ cd /Users/leon/miniforge3/bin (example for MacOS Apple Silicon)

Activate mamba by running the following command
$ source activate
3: Clone the WaterGAP repository#
Using the Terminal, navigate to the directory of choice where the WaterGAP folder will be copied into. Then use the following command to clone the repository.
git clone https://github.com/HydrologyFrankfurt/ReWaterGAP.git
Find more information in the official GitHub documentation here .
4: Create an environment to run ReWaterGAP in#
Navigate to the ReWaterGAP folder in the terminal using the following command.
$ cd user/…/ReWaterGAP
Create an environment (e.g. with the name “watergap”) and install the required packages from the requirements.txt file by running the following command.
example
$ mamba create --name watergap --file requirements.txt
Activate the WaterGAP environment using the following command.
example
$ mamba activate watergap
5. Get Input Data#
The User should provide the following data in NetCDF format.
Note: WaterGAP operates with daily temporal resolution. The model does not consider leap days (29th February) in computations, so these specific days should be excluded from the climate forcings. Additionally, water use data (potential net abstractions) is provided in monthly timesteps, and thus, it’s assumed in WaterGAP that the potential net abstractions per day in a month are the same.
- Climate Forcing (Daily data)
precipitation (kg m-2 s-1)
downward longwave radiation (Wm-2)
downward shortwave radiation (Wm-2)
temperature (K)
- Water Use (Monthly data)
potential consumptive use for irrigation using surface water (m3/month)
potential abstraction (water withdrawal) use for irrigation using surface water (m3/month)
potential net abstractions from surface water (m3/month)
potential net abstractions from groundwater (m3/month)
The files need to be copied to their respective folders in ../ReWaterGAP/input_data (see picture):
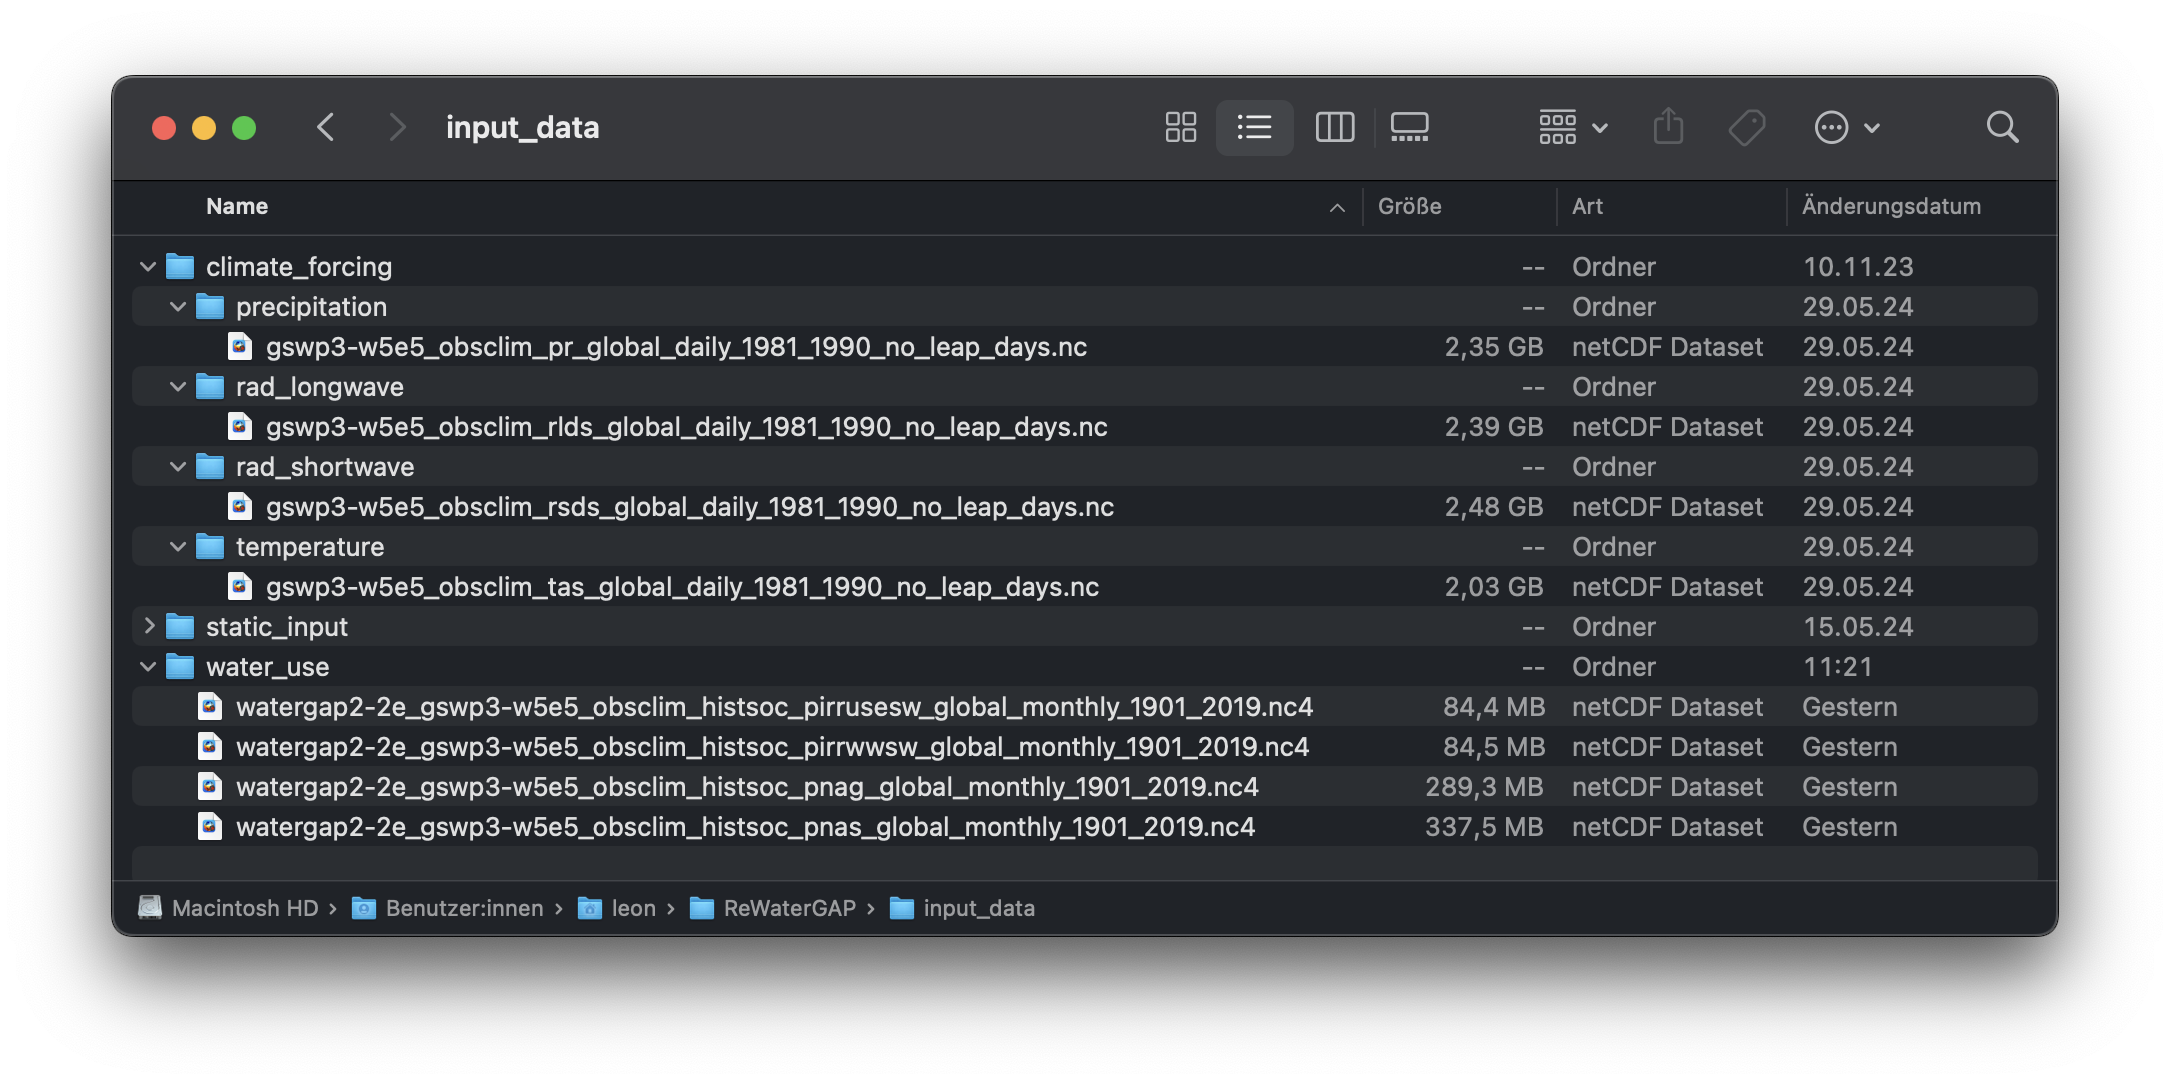
You can find the necessary climate forcing data at ISIMIP . For the water use data see Preparing Input Data section under tutorials.
6: Run WaterGAP using the configuration file „Config_ReWaterGAP.json“ - Naturalized run#
For Naturalised run, make sure that anthropogenic run is set to false (“ant”: false) in the Config_ReWaterGAP.json file (see image below). See Tutorials to run other model configurations.
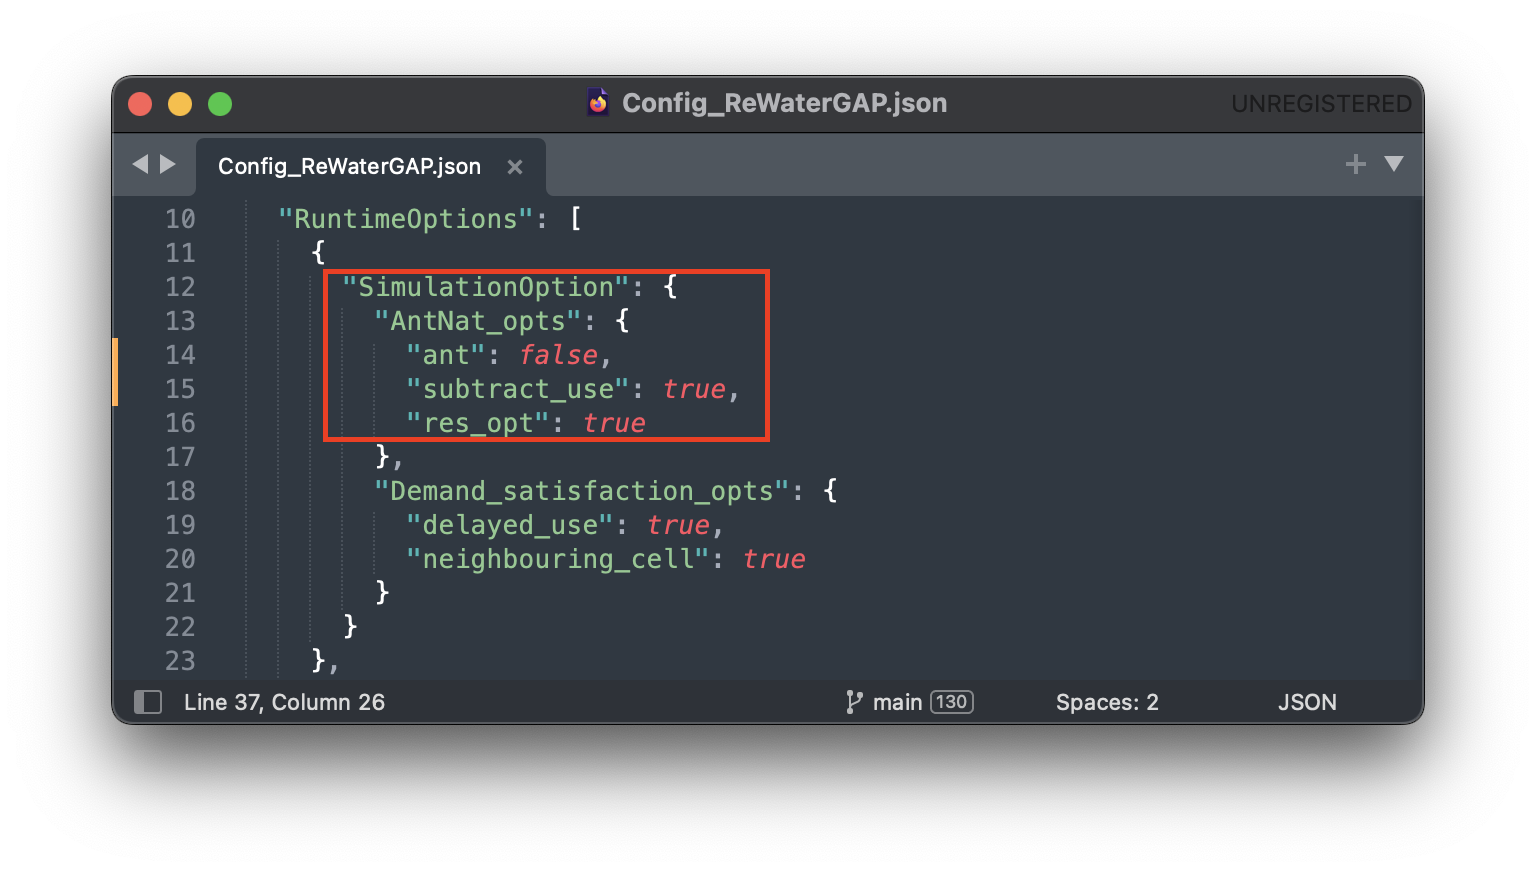
Lastly, run the command below to start WaterGAP:
$ python3 run_watergap.py Config_ReWaterGAP.json
